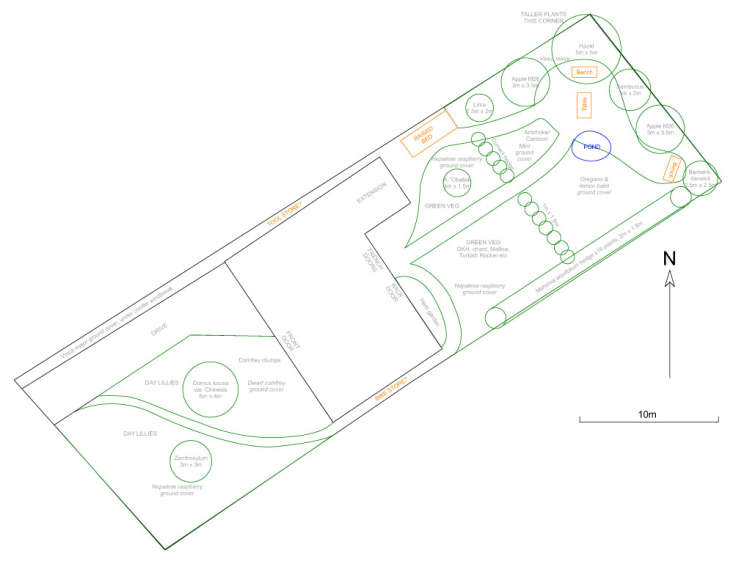
Final forest garden outline planting plan
Coloured Poundland pencils come to the rescue in my outline design for a small forest garden.
I’m proud to have finished my first paid forest garden design. It was a remote job, which I chanced upon via Facebook. The client wanted an outline forest garden plan made, saying:
“I intend to convert my ⅓ acre seaside patch to a mini forest garden”.
They seemed to be very pleased with the result, which is always a relief and very satisfying!
“I’m just delighted with the plan! It’s everything I wanted and much more.”
It was all done remotely, so I traced the plot in Inkscape from the satellite view in Google Maps, and then exported the paths to a CAD format. Because I exported the measurement scale as well, it was relatively easy to scale it up to lifesize in QCAD.
Then the client emailed over a whole bunch of photos from different angles, plus the key measurements. I tweaked the plan to make it more accurate, printed it out on A4 paper and started sketching. CAD is great, and really useful for playing with the position of canopy trees, to make sure you end up with enough light between trees. But it is fiddly and technical (I’m still learning how to use NURBS) to create smooth curves), so sketching by hand is actually easier in some cases.
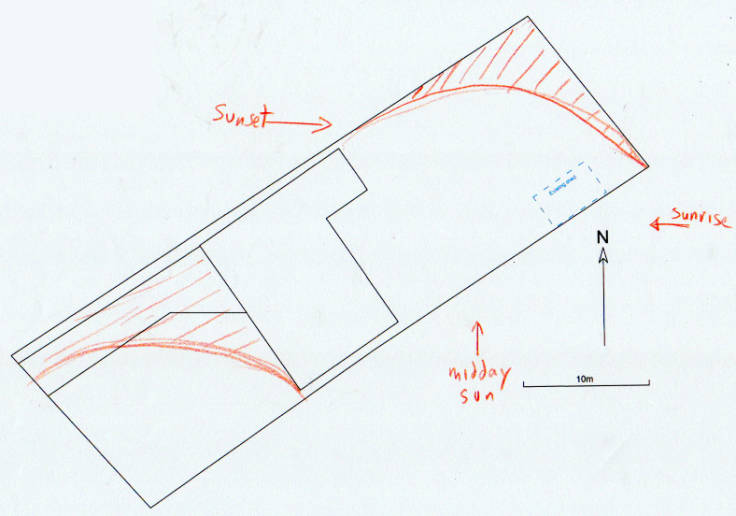
Here’s the sketch for where I estimated the lightest parts of the garden to be (if I was onsite, I would use the excellent Sun Surveyor mobile app to check for light and darks areas at different times of the year):

Sketch estimating areas of sunlight in the garden
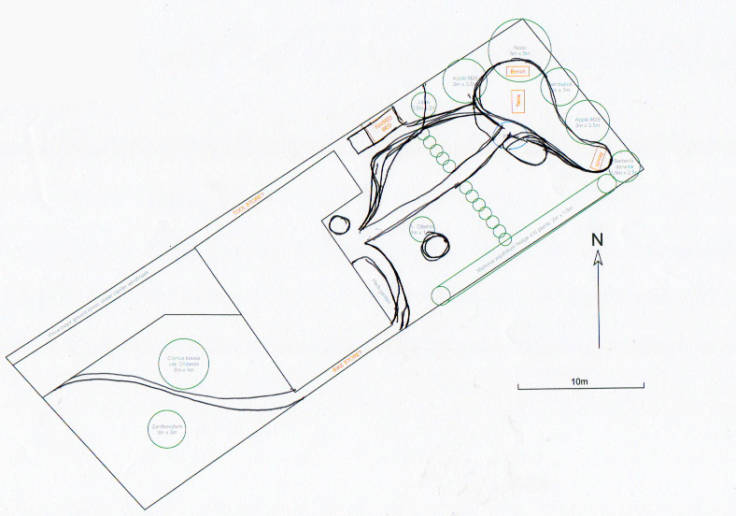
Then, I sketched out in biro the different areas and footpaths of the garden. I traced this very rough sketch in Inkscape and then imported back it into QCAD, tweaking it to fit. To be honest, it would be easier to sketch directly in CAD, as there is a freehand tool, but I’d need to invest in a Wacom tablet)

Rough biro scribblings outlining areas & paths
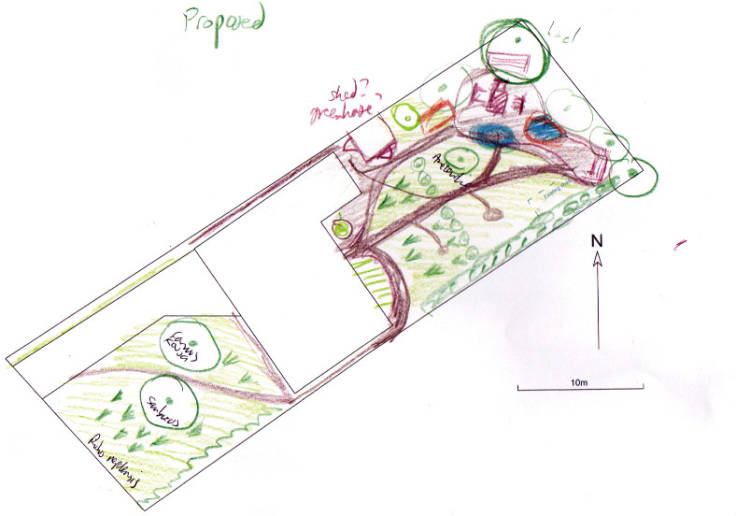
Finally, I pulled out my bargain £1 colour pencils and started to sketch in the different plants, paths and features. It’s all very rough but it is so much easier to visualise once you get a bit of colour down. Again, CAD is great but a little bit monochrome & tidy.

Very rough sketch in coloured Poundland pencils, showing planting ideas & areas
And here, for comparison, is the final plan again:

Final forest garden outline planting plan